Introduction
Welcome to Logizo School – Multiple Management System Documentation. Logizo School is an advanced, cloud-based School ERP solution developed to simplify and centralize the complete management of educational institutions.
It provides a unified digital platform where administrators, teachers, accountants, and support staff can efficiently manage academic, administrative, and financial operations in a structured and transparent manner.
The system is designed to automate daily school processes such as student admissions, attendance tracking, timetable management, examination handling, fee collection, transport allocation, and performance reporting. By integrating multiple modules into one secure platform, Logizo ERP eliminates the need for manual paperwork and disconnected software tools, reducing errors and improving overall productivity.
Logizo School ERP supports role-based access control, ensuring that users only access the information relevant to their responsibilities. Administrators can configure academic structures, manage staff records, and monitor institutional performance. Teachers can record attendance, upload marks, assign homework, and track student progress. Finance teams can manage fee structures, generate invoices, and produce accurate financial reports.
The platform enhances communication between schools and parents through real-time updates on attendance, academic performance, fee payments, and important announcements. With secure data handling, customizable settings, and comprehensive reporting tools, Logizo ERP ensures reliability, scalability, and transparency.
This documentation will guide you step-by-step in understanding and effectively using every feature of the system.
Server Requirements
Logizo School – Multiple Management System is developed using HTML, CSS, Bootstrap, JavaScript, and PHP. The system operates on a secure PHP environment with MySQL database support and modern hosting compatibility.
Final Server Requirements
- PHP Version (≥ 8.0) 8.3.16 - Satisfied
- MySQLi Extension Enabled - Satisfied
- PDO Extension Enabled - Satisfied
- OpenSSL Extension Enabled - Satisfied
- GD Library Enabled - Satisfied
- Config File Permission Writable - Satisfied
Installation & Setup Guide
Follow these steps to successfully install and configure Logizo School ERP on your server.
Step 1: Download & Upload the Project
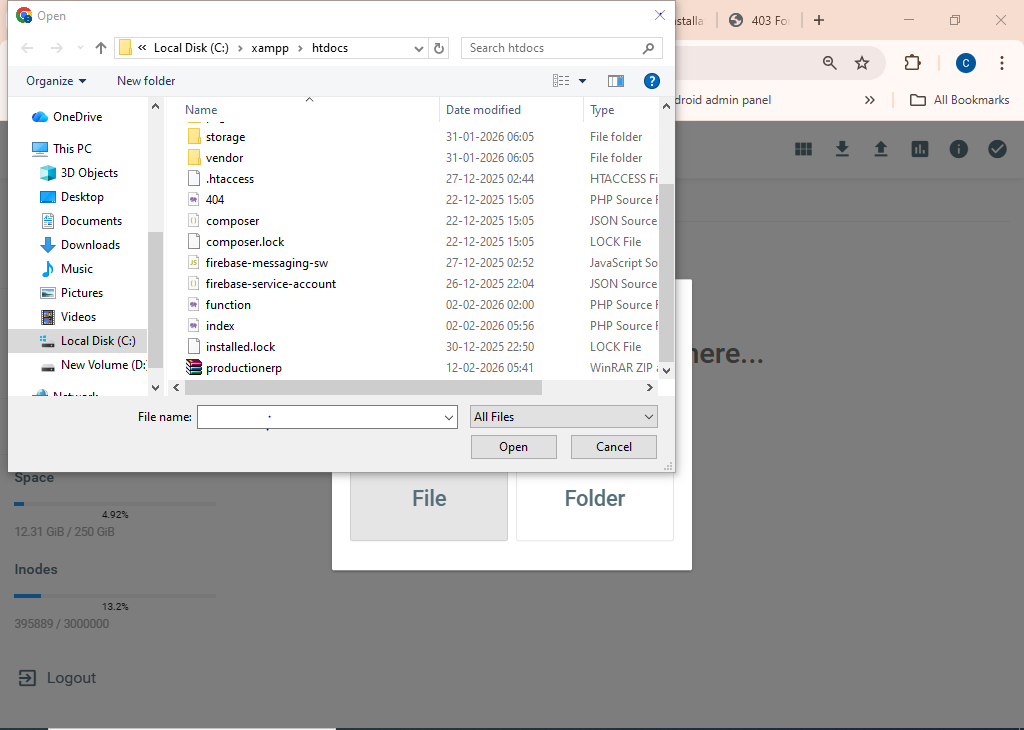
Download the latest version of Logizo School ERP. Extract the ZIP file and upload all files to your server via cPanel or FTP. Place them inside public_html or your domain root folder.
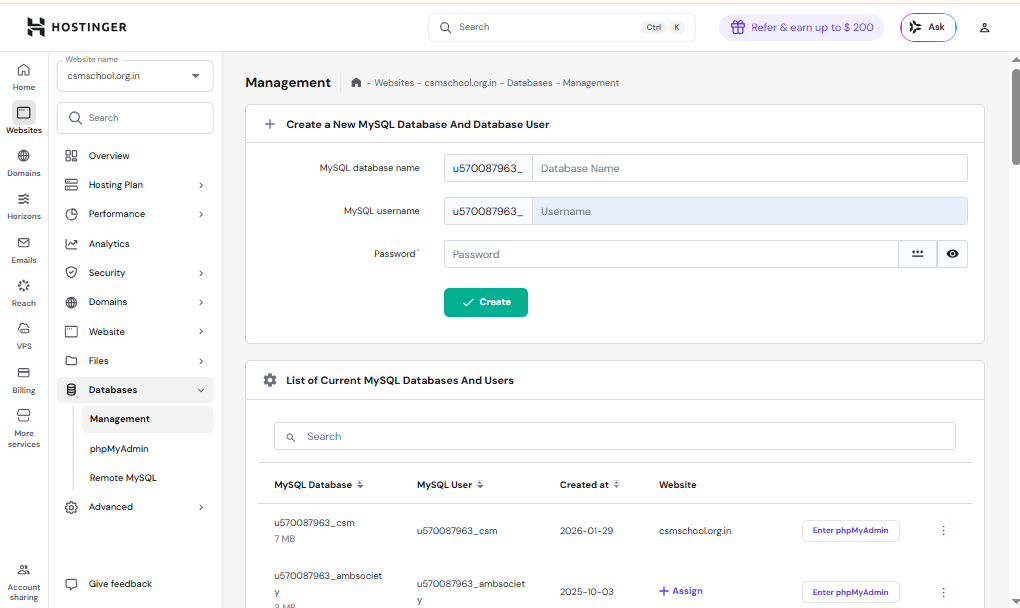
Step 2: Create & Configure Database
Create a new MySQL database from your hosting control panel. Save the database name, username, and password for installation setup.

Step 3: Launch Installer & Verify Requirements
Open your domain in a browser. The installer checks PHP ≥ 8.0, mysqli, PDO, OpenSSL, GD Library, and file permissions. Ensure all show Satisfied.
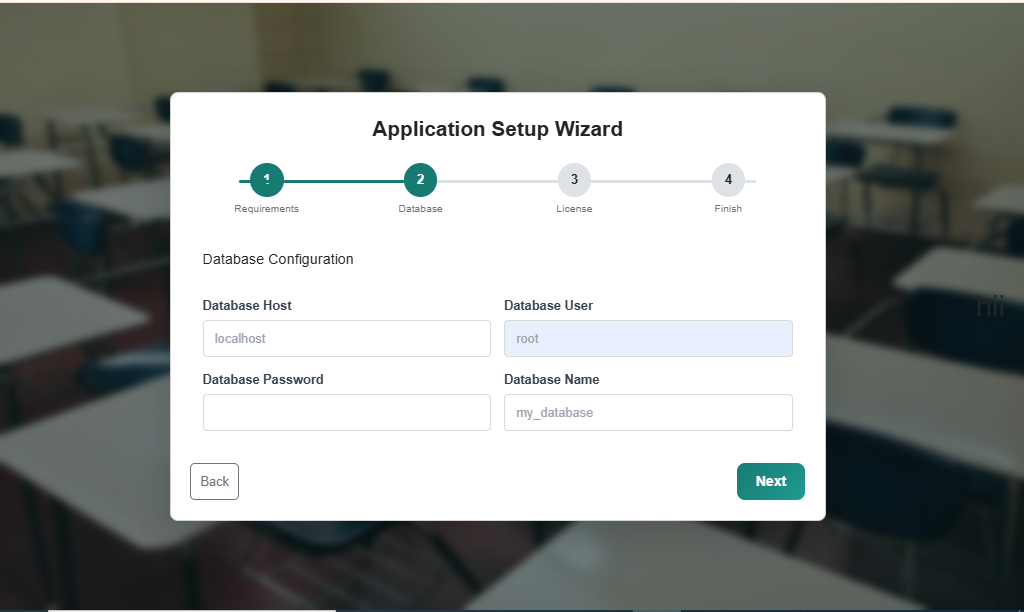
Step 4: Configure Database Connection
Enter Database Host (usually localhost), Database Username, Password, and Database Name correctly.
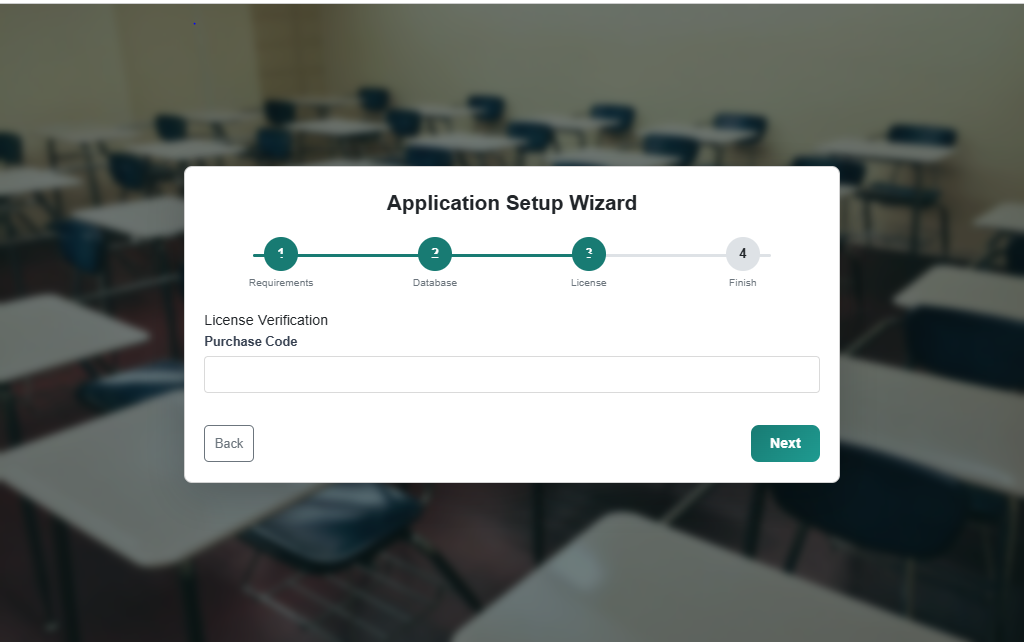
Step 5: License Verification
Enter your official license key. The system validates it against your domain before proceeding.
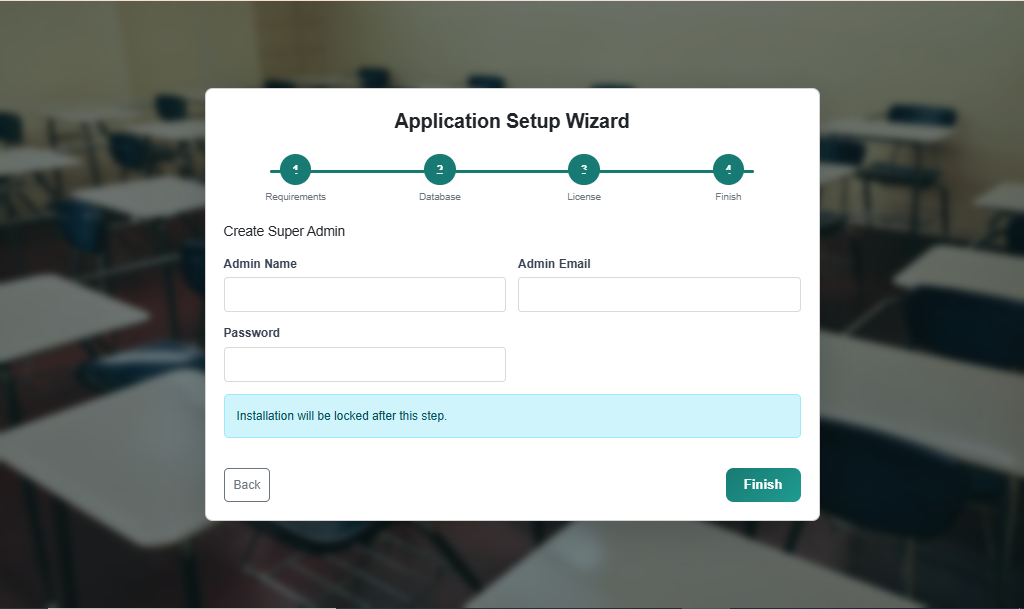
Step 6: Create Super Admin & Finish
Enter Super Admin details (Name, Email, Username, Password). Installation completes successfully after submission.
Help & Support
Need Assistance? Find answers to common questions or contact our support team for further help.
Still Need Help?
Contact our technical support team for further assistance.
Email: info@logizo.com
Phone: +91 7619981993
Working Hours:
Monday – Saturday (10:00 AM –
6:00 PM)